
Most American households rely on air conditioners to stay comfortable, yet over half of all homeowners admit they skip regular maintenance. Ignoring basic upkeep can lead to higher bills, uncomfortable rooms, and costly breakdowns. Learning simple, step-by-step air conditioner care can help any American avoid unexpected surprises, extend system life, and keep energy use in check with just a few straightforward tools and regular checks.
Table of Contents
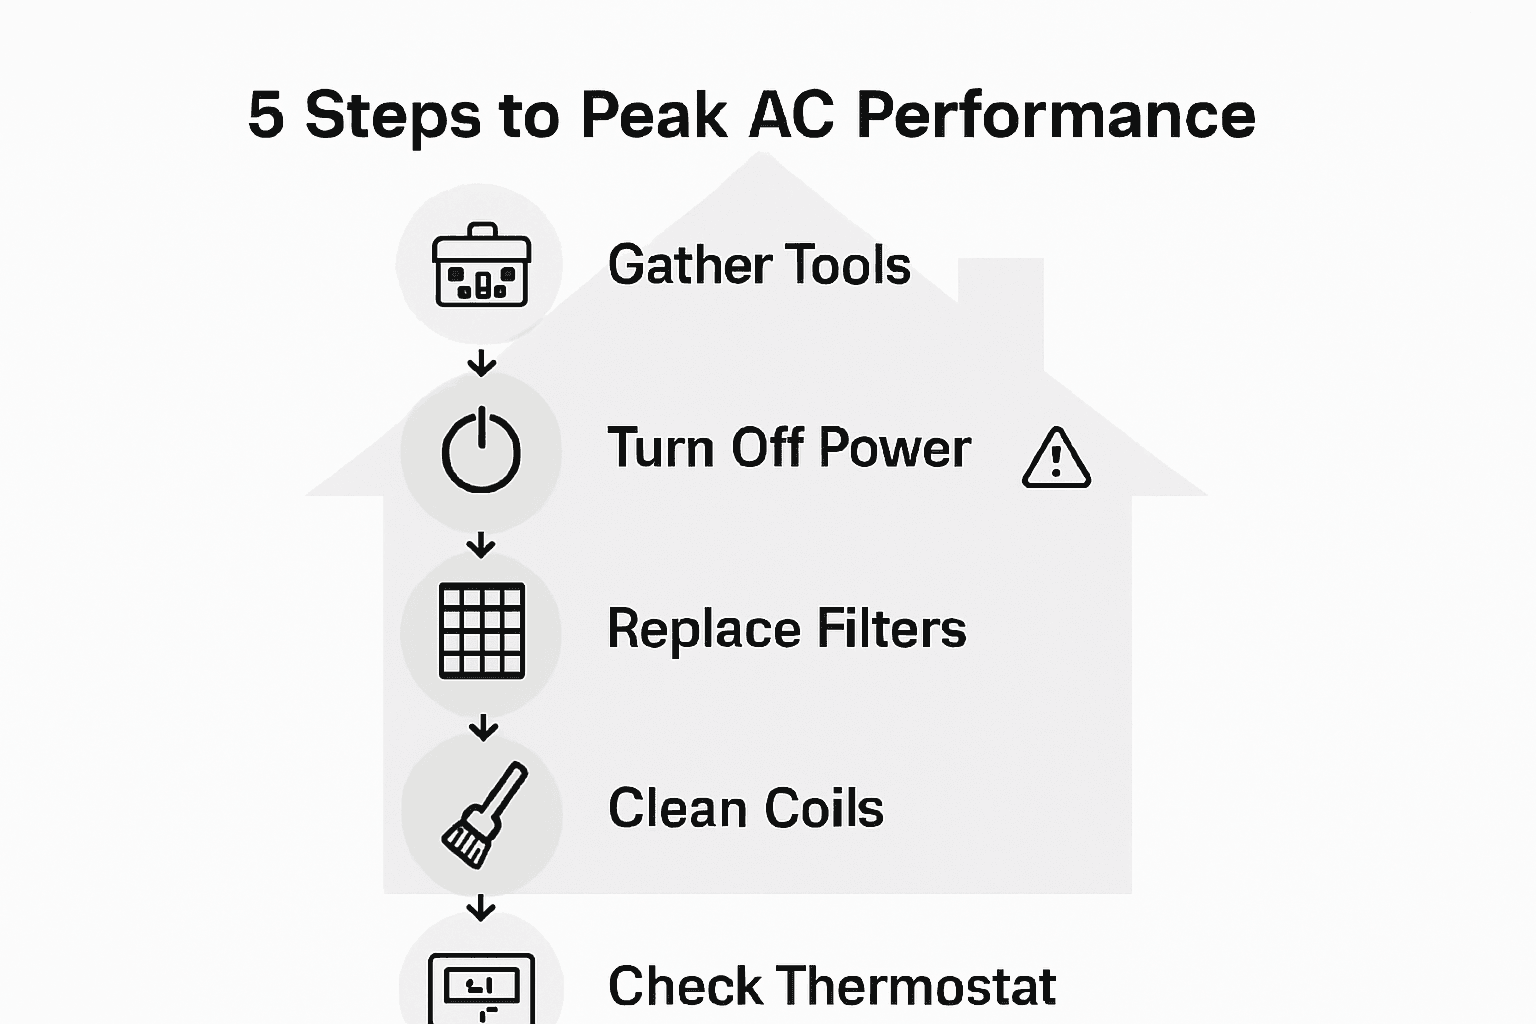
- Step 1: Gather Essential Tools And Safety Gear
- Step 2: Turn Off Power And Inspect Air Filters
- Step 3: Clean Coils And Clear Away Debris
- Step 4: Check Thermostat And System Controls
- Step 5: Test System Performance And Monitor Results
Quick Summary
| Key Point | Explanation |
|---|---|
| 1. Gather Essential Tools | Use the right HVAC tools and safety gear for effective maintenance and personal protection during the process. |
| 2. Turn Off Power Safely | Always switch off electrical power before starting maintenance to prevent electrical shock and damage to the air conditioning system. |
| 3. Clean Coils Regularly | Regular cleaning of indoor and outdoor coils prevents dirt buildup, maintaining energy efficiency and optimal cooling performance. |
| 4. Check Thermostat Settings | Ensure your thermostat is accurately programmed to reflect your comfort and energy-saving needs, optimizing system performance. |
| 5. Test System Performance | After maintenance, run your system and monitor airflow and cooling effectiveness to identify potential issues that may require attention. |
Step 1: Gather Essential Tools and Safety Gear
Maintaining your air conditioner requires the right tools and safety equipment to ensure both effective performance and personal protection. Before starting any maintenance work, you’ll want to assemble a comprehensive toolkit that includes professional grade instruments and protective gear.
Starting with tools, you’ll need a range of essential equipment designed for HVAC work. Professional HVAC technicians rely on specific instruments including insulated screwdrivers, sturdy pliers, adjustable pipe wrenches, reliable tape measures, and a quality multimeter for electrical testing. Additional helpful items include tin snips, a cordless drill, extension cords, and a stable step ladder to reach different parts of your air conditioning system.
Safety should always be your top priority during air conditioner maintenance. Protect yourself by wearing sturdy work gloves to prevent cuts and abrasions, safety glasses to shield your eyes from debris, and ear protection if you’re working with loud equipment. For tasks that might generate dust or chemical particles, include a respirator or dust mask in your gear. Having the right protective equipment means you can focus on the maintenance task without worrying about potential workplace hazards.
Pro tip: Store all your tools in a single, organized toolbox or rolling case. This helps you quickly locate what you need and prevents lost or misplaced equipment during your maintenance work.
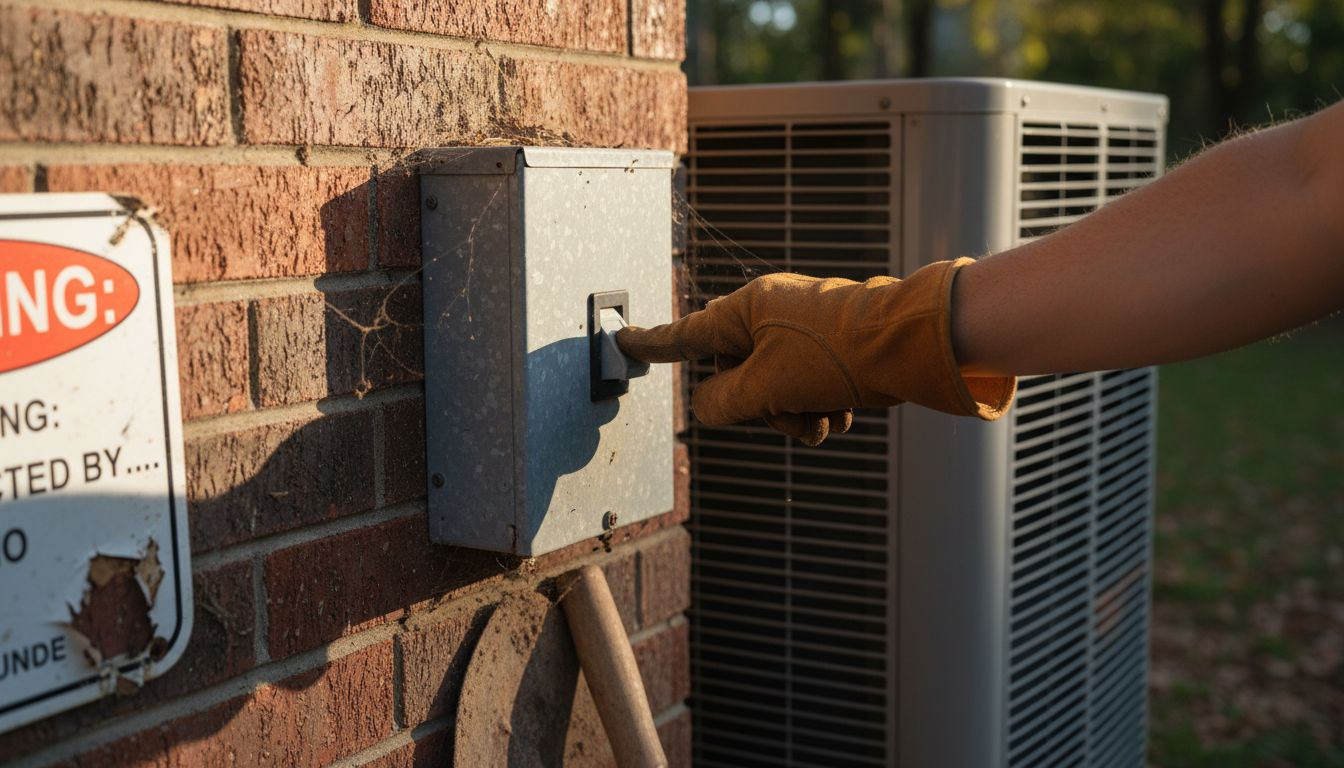
Step 2: Turn Off Power and Inspect Air Filters
Before diving into your air conditioner maintenance, you’ll need to ensure complete safety by turning off power and carefully examining your system’s air filters. This critical first step protects both you and your equipment from potential electrical or mechanical damage.
Maintaining optimal air conditioner performance starts with shutting down electrical power completely. Locate your air conditioning system’s circuit breaker or disconnect switch typically found near the outdoor unit or in your home’s main electrical panel. Flip the switch to the off position to eliminate any risk of electrical shock while working on the system. After confirming the power is off, you can safely proceed with filter inspection and cleaning.
Air filters play a crucial role in your system’s efficiency and indoor air quality. Inspect the filters carefully for accumulated dust, debris, and particulate buildup. Most residential systems have filters located in the return air duct or inside the air handler. Depending on your system’s design, you might need to slide out the filter or open a designated access panel. Energy Star recommends checking and potentially replacing filters once a month to maintain peak system performance and prevent unnecessary strain on your air conditioning unit.
Pro tip: Take a photo of the old filter before removing it. This helps you remember the exact size and orientation when purchasing a replacement, preventing potential installation errors.
Step 3: Clean Coils and Clear Away Debris
Maintaining your air conditioner’s coils is crucial for ensuring optimal system performance and energy efficiency. This step involves carefully cleaning both the indoor evaporator and outdoor condenser coils to prevent dirt buildup that can significantly impact your system’s cooling capabilities.
Proper maintenance of air conditioning coils requires a systematic approach to removing accumulated dirt and debris. Start with the outdoor condenser unit, which is typically more exposed to environmental elements. Carefully remove any leaves, grass clippings, or vegetation within two feet of the unit. Use a soft brush or vacuum with a soft brush attachment to gently clean the exterior coil surfaces, being careful not to bend or damage the delicate aluminum fins. For stubborn dirt, you might use a commercial coil cleaner specifically designed for air conditioning systems.
For the indoor evaporator coils located inside your air handler, the cleaning process requires more delicate handling. Energy Star recommends thorough coil inspection and cleaning to maintain system efficiency and prevent potential performance issues. Use a soft bristle brush or specialized no-rinse coil cleaner to remove dust and grime. Be extremely gentle to avoid damaging the sensitive coil fins, and ensure you clean around the condensate drain to prevent potential water damage and humidity problems.
Pro tip: Always work with soft tools and cleaning materials when maintaining your air conditioner coils. Avoid using anything abrasive that could scratch or damage the delicate coil surfaces, which could compromise your system’s performance and efficiency.
Here’s a quick comparison of typical maintenance tasks for indoor vs. outdoor air conditioner components:
| Component Location | Key Maintenance Task | Potential Issue Prevented |
|---|---|---|
| Indoor (Evaporator) | Clean coils gently | Prevent reduced airflow and frost buildup |
| Indoor (Air Filter) | Inspect and replace monthly | Avoid poor air quality and higher energy bills |
| Outdoor (Condenser) | Remove debris from unit | Stop overheating and efficiency loss |
| Outdoor (Coils/Fins) | Vacuum and brush fins | Reduce clogging and compressor strain |
Step 4: Check Thermostat and System Controls
Maintaining your air conditioner’s thermostat and system controls is essential for ensuring consistent comfort and optimal energy efficiency. This crucial step involves carefully examining your system’s primary control mechanisms to guarantee smooth and reliable operation.
Verifying thermostat settings and system controls starts with a comprehensive evaluation of your current configuration. Begin by checking that your thermostat is programmed correctly for your daily schedule. Confirm that the temperature settings align with your comfort preferences and energy-saving goals. If you have a programmable or smart thermostat, review the existing schedule to ensure it reflects your current lifestyle and working hours.
Next, perform a detailed inspection of the system’s electrical controls and connections. A professional technician recommends carefully examining electrical terminals for any signs of wear, corrosion, or loose connections. Gently tighten any loose electrical connections and look for any signs of potential electrical issues. Check that the system starts, operates, and shuts down smoothly without any unusual sounds or unexpected pauses. Pay special attention to the control sequence to prevent simultaneous heating and cooling, which can significantly reduce system efficiency and increase energy consumption.
Pro tip: Take a photo of your current thermostat settings before making any adjustments. This provides a helpful reference point and allows you to easily revert to your original configuration if needed.
Step 5: Test System Performance and Monitor Results
After completing the previous maintenance steps, it is critical to thoroughly test your air conditioning system to ensure it is operating at peak efficiency. This final step will help you verify that all your hard work has paid off and identify any potential issues that might require professional attention.
Comprehensive system performance testing involves a systematic approach to evaluating your air conditioner’s functionality. Start by turning the system on and allowing it to run for at least 15 to 20 minutes. Listen carefully for any unusual sounds such as grinding, squealing, or rattling that could indicate mechanical problems. Check the airflow from each vent to ensure it is strong and consistent throughout your home. Monitor the temperature differential between the air coming out of the vents and the ambient room temperature, which should typically be around 15 to 20 degrees Fahrenheit.
Professional technicians recommend thorough diagnostic checks to identify potential performance issues. Pay attention to how quickly your system cools the space and whether it cycles on and off appropriately. If you notice the system struggling to maintain the desired temperature, running constantly, or creating uneven cooling across different rooms, these might be signs that require further investigation. Keep a detailed log of your observations, including the date, time, and specific performance characteristics, which can be helpful if you need to consult a professional HVAC technician.
Pro tip: Use a digital thermometer to precisely measure the air temperature at different vents. This provides more accurate performance data than relying solely on your perception of cooling effectiveness.
Use this table to understand how key air conditioner problems may be identified during performance checks:
| Symptom Detected | Possible Cause | Recommended Next Step |
|---|---|---|
| Weak airflow | Dirty filter, blockage | Check and replace filter |
| Unusual noises | Loose parts or debris | Inspect and secure components |
| Inconsistent cooling | Thermostat/circuit issue | Review settings and wiring |
| System runs constantly | Low refrigerant, dirty coils | Call professional and clean coils |
Keep Your Air Conditioner Running Smoothly With Expert Help
Maintaining your air conditioner for peak performance involves careful cleaning, timely filter replacement, and thorough system checks to avoid costly repairs and ensure reliable cooling during Los Angeles’ hottest months. If you want to protect your home or business from unexpected breakdowns and enjoy consistent comfort, it pays to have access to skilled professionals who understand the unique challenges of HVAC maintenance outlined in the article. This includes everything from coil cleaning and thermostat calibration to monitoring airflow and electrical safety.

Don’t wait until your system fails or energy bills spike. Connect with trusted local contractors through airconditioning-heating.com, a leading platform that links you to licensed HVAC experts specializing in repair, installation, and preventative maintenance right here in Los Angeles. Take advantage of their quick response teams and financing options to keep your air conditioner performing at its best year-round. Ready to schedule your service or get a free consultation? Visit airconditioning-heating.com and ensure your cooling system is summer-ready today.
Frequently Asked Questions
How do I gather the right tools for my air conditioner maintenance?
To maintain your air conditioner effectively, you will need essential tools such as insulated screwdrivers, pliers, adjustable wrenches, and a multimeter. Start by assembling these items in a single organized toolbox to streamline your maintenance tasks.
What safety gear should I wear while maintaining my air conditioner?
It is crucial to protect yourself with safety gear, including work gloves, safety glasses, and a respirator if dust or chemicals are involved. Always prioritize safety to focus on your maintenance work without distractions from potential hazards.
How often should I inspect and replace my air conditioner’s filters?
You should inspect and potentially replace your air conditioner’s filters at least once a month. This helps maintain optimal airflow and improves your indoor air quality while preventing unnecessary strain on the system.
What steps should I follow to clean the air conditioner coils?
To clean your air conditioner’s coils, begin with the outdoor unit by removing debris and gently brushing the coil surfaces with a soft brush. For indoor coils, carefully use a no-rinse coil cleaner to avoid damaging the fins and ensure the condensate drain is free from clogs.
How can I check my thermostat settings for optimal performance?
Verify your thermostat settings by ensuring they align with your comfort preferences and energy-saving goals. Adjust the settings if needed, and take a photo of the current configuration for reference to maintain consistency in your settings.
What performance issues should I look for when testing my air conditioner?
During testing, listen for unusual sounds and check the airflow from each vent to ensure it is consistent. Monitor the temperature difference between vents and the room, aiming for a 15 to 20-degree Fahrenheit drop to verify your system is operating efficiently.
Recommended
- #1 HVAC Company Los Angeles, CA | HVAC Pros | (833) 441-1101
- #1 HVAC Company Los Angeles, CA | HVAC Pros | (833) 441-1101
- #1 HVAC Company Los Angeles, CA | HVAC Pros | (833) 441-1101
- #1 Air Conditioning Maintenance 90001 | HVAC Pros | (833) 441-1101
- Diesel Particulate Filter Maintenance for Professionals – My WordPress
