
Every American homeowner knows that reliable heating and cooling is crucial, especially with Los Angeles summers reaching above 100 degrees. Choosing the right HVAC system is more than just a comfort upgrade—it impacts your energy bills, indoor air quality, and even home value. With so many options available, understanding how professionals match systems to property specifics can make all the difference for long term savings and lasting comfort.
Table of Contents
- Step 1: Assess Property and Select Right HVAC System
- Step 2: Prepare Installation Area and Gather Tools
- Step 3: Install HVAC Equipment According to Local Codes
- Step 4: Connect Electrical and Refrigerant Components
- Step 5: Test System Performance and Verify Safety
Quick Summary
| Key Point | Explanation |
|---|---|
| 1. Assess Home Before HVAC Selection | Take accurate measurements of square footage and consider factors like insulation and sun exposure. |
| 2. Schedule a Professional Energy Audit | An expert can determine your home’s thermal load ensuring accurate HVAC system selection. |
| 3. Follow Local Installation Codes | Always comply with local building regulations for safe and efficient HVAC installation. |
| 4. Connect Electrical and Refrigerant Safely | Ensure proper wiring and route refrigerant lines to avoid inefficiencies or safety hazards. |
| 5. Document Performance Testing Results | Keep a detailed log of all tests to assist with future maintenance and identify issues early. |
Step 1: Assess Property and Select Right HVAC System
Picking the perfect HVAC system starts with a thorough property assessment. Your goal is matching the right heating and cooling solution to your specific Los Angeles home’s unique characteristics. This means understanding square footage, insulation quality, sun exposure, and existing ductwork configuration.
Successful system selection requires careful analysis of multiple factors. Professional contractors typically reference comprehensive equipment selection guidelines that consider regional temperature variations and specific building parameters. Start by measuring your total square footage and identifying the number of rooms needing temperature control. Pay special attention to ceiling heights, window placement, and home orientation which significantly impact heating and cooling requirements.
Your HVAC system must handle Los Angeles’ dramatic temperature swings while maintaining energy efficiency. Consider factors like local climate patterns, home age, existing infrastructure, and your budget. Modern systems range from traditional central air units to ductless mini splits and heat pumps. Each option offers different advantages depending on your property’s specific needs.
Pro Tip: Schedule a professional energy audit before making your final selection. An expert can precisely calculate your home’s unique thermal load and recommend the most appropriate HVAC system with maximum performance and minimum energy waste.
Here’s a quick comparison of common residential HVAC system types and their key advantages:
| System Type | Ideal Application | Energy Efficiency Level | Typical Upfront Cost |
|---|---|---|---|
| Central Air Conditioner | Whole-home with ductwork | Moderate to high | Medium to high |
| Ductless Mini Split | Zoned or older homes | High | Medium |
| Heat Pump | Mild climate like Los Angeles | Very high | High |
| Window/Portable Unit | Single rooms or apartments | Low to moderate | Low |
Step 2: Prepare Installation Area and Gather Tools
Preparing for HVAC installation requires strategic planning and precise organization. Your goal is creating a clean, accessible workspace that enables smooth equipment placement and minimizes potential installation complications. This involves clearing the designated installation zone and assembling all necessary professional tools and safety equipment.
Start by thoroughly inspecting your installation area, ensuring adequate space and accessibility. According to the U.S. Department of Energy’s HVAC contractor preparation guidelines, you need to verify proper clearance around potential unit locations. Remove any furniture, storage items, or obstacles that might impede installation. Check electrical connections, assess ventilation pathways, and confirm structural integrity of mounting surfaces. For indoor units, this means clearing at least three feet of surrounding space. For outdoor units, ensure a level ground surface free from debris, with sufficient airflow and minimal direct sunlight exposure.
Gather professional grade tools before beginning installation. Essential equipment includes measuring tape, level, power drill, adjustable wrench, voltage tester, reciprocating saw, pipe cutter, vacuum pump, and manifold gauge set. Personal protective gear is equally critical wear safety glasses, work gloves, steel toed boots, and ensure proper respiratory protection. Having all materials organized and readily accessible will streamline your installation process and prevent unnecessary interruptions.
Pro Tip: Create a dedicated staging area with all tools and equipment pre sorted and within immediate reach. This preparation reduces installation time and minimizes potential errors during the critical setup phase.
Step 3: Install HVAC Equipment According to Local Codes
Installing HVAC equipment requires meticulous attention to local building regulations and professional standards. Your primary objective is ensuring a safe, compliant, and efficient system installation that meets all Los Angeles municipal requirements and industry best practices.
ENERGY STAR guidelines for HVAC installation emphasize the critical importance of following precise technical specifications and local building codes. Begin by carefully reviewing Los Angeles County’s specific HVAC installation regulations, which typically cover electrical connections, refrigerant handling, ventilation requirements, and structural mounting protocols. Verify that your installation plan aligns with local permit requirements, including necessary inspections and documentation. This means checking minimum clearance distances, ensuring proper electrical load calculations, and confirming that all components meet current energy efficiency standards.
Precision is key when mounting and connecting HVAC components. Install indoor and outdoor units with absolute level alignment, using professional grade mounting brackets and vibration dampeners. Carefully route refrigerant lines, ensuring minimal bends and proper insulation. Connect electrical systems with strict adherence to local electrical codes, using appropriate gauge wiring and implementing proper grounding techniques. Pay special attention to condensate drainage systems, ensuring correct slope and connection to approved drainage points.
Pro Tip: Schedule a preliminary inspection with a local building inspector before completing your final installation. This proactive step can help identify potential code compliance issues early and save you from costly modifications later.
Step 4: Connect Electrical and Refrigerant Components
Connecting electrical and refrigerant components is a critical phase of HVAC installation that demands precision, technical expertise, and strict adherence to safety protocols. Your goal is creating a seamless integration between electrical systems and refrigerant lines that ensures optimal system performance and longevity.
Technical guidelines for HVAC equipment installation emphasize the importance of meticulously planning and executing electrical and refrigerant connections. Begin by verifying that your electrical supply matches the system requirements precisely. Use high quality copper wiring appropriate to the system amperage, ensuring proper gauge and insulation. For refrigerant lines, select professional grade copper tubing with minimal joints and bends. Clean and deburr all connection points, applying nitrogen purging techniques to prevent oxidation and contamination during the soldering process.
Carefully route refrigerant lines with gentle curves, avoiding sharp angles that could restrict flow. Utilize specialized flaring tools to create secure mechanical connections, applying appropriate torque specifications for each fitting. Implement leak detection methods like pressure testing and electronic leak detectors to verify connection integrity. Insulate refrigerant lines thoroughly using closed cell foam insulation to prevent thermal transfer and potential condensation issues. When connecting electrical components, follow manufacturer specifications precisely, ensuring proper grounding and using weatherproof electrical connections for outdoor units.
Pro Tip: Invest in a professional calibrated manifold gauge set for precise refrigerant line pressure testing. This tool can help you identify potential leaks or connection issues before they become serious problems.
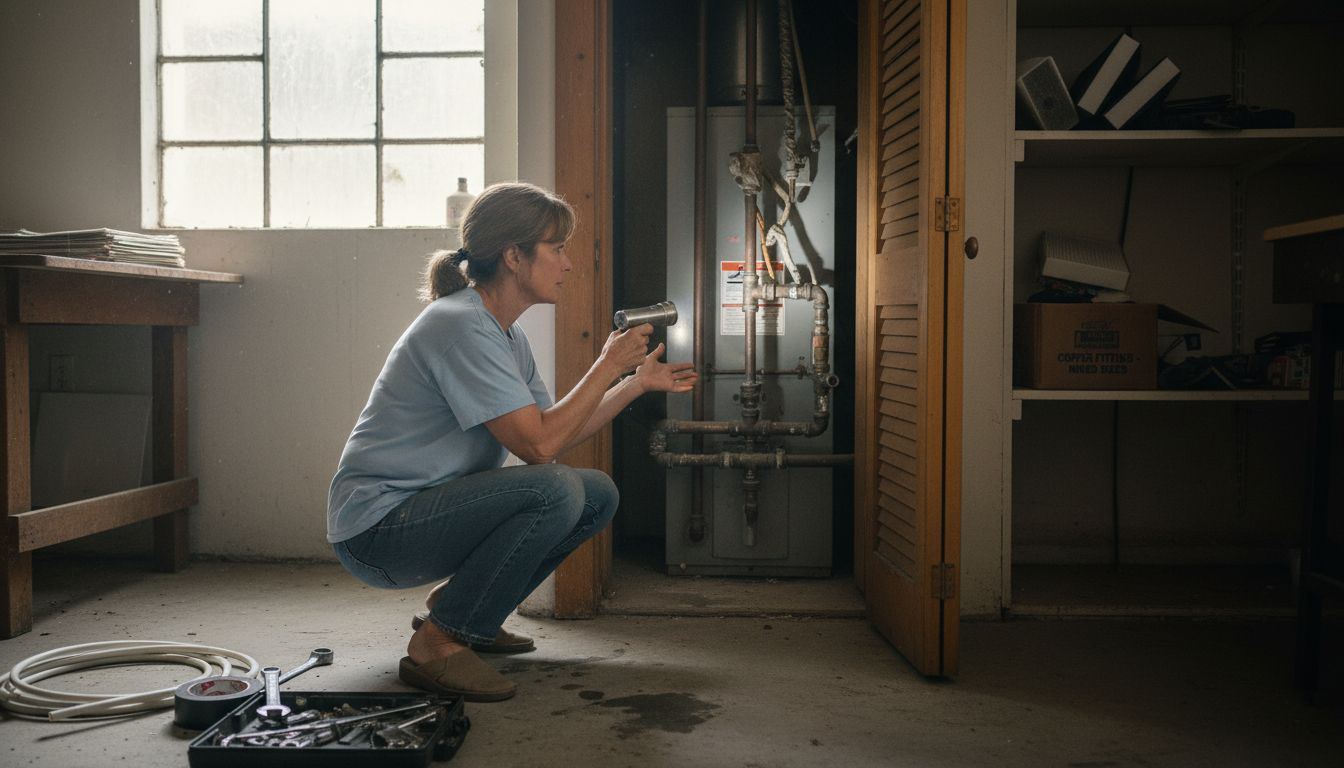
Step 5: Test System Performance and Verify Safety
The final stage of HVAC installation involves comprehensive performance testing and safety verification to ensure your new system operates at peak efficiency and meets all industry safety standards. Your objective is conducting thorough diagnostic checks that validate system functionality and identify any potential issues before final commissioning.
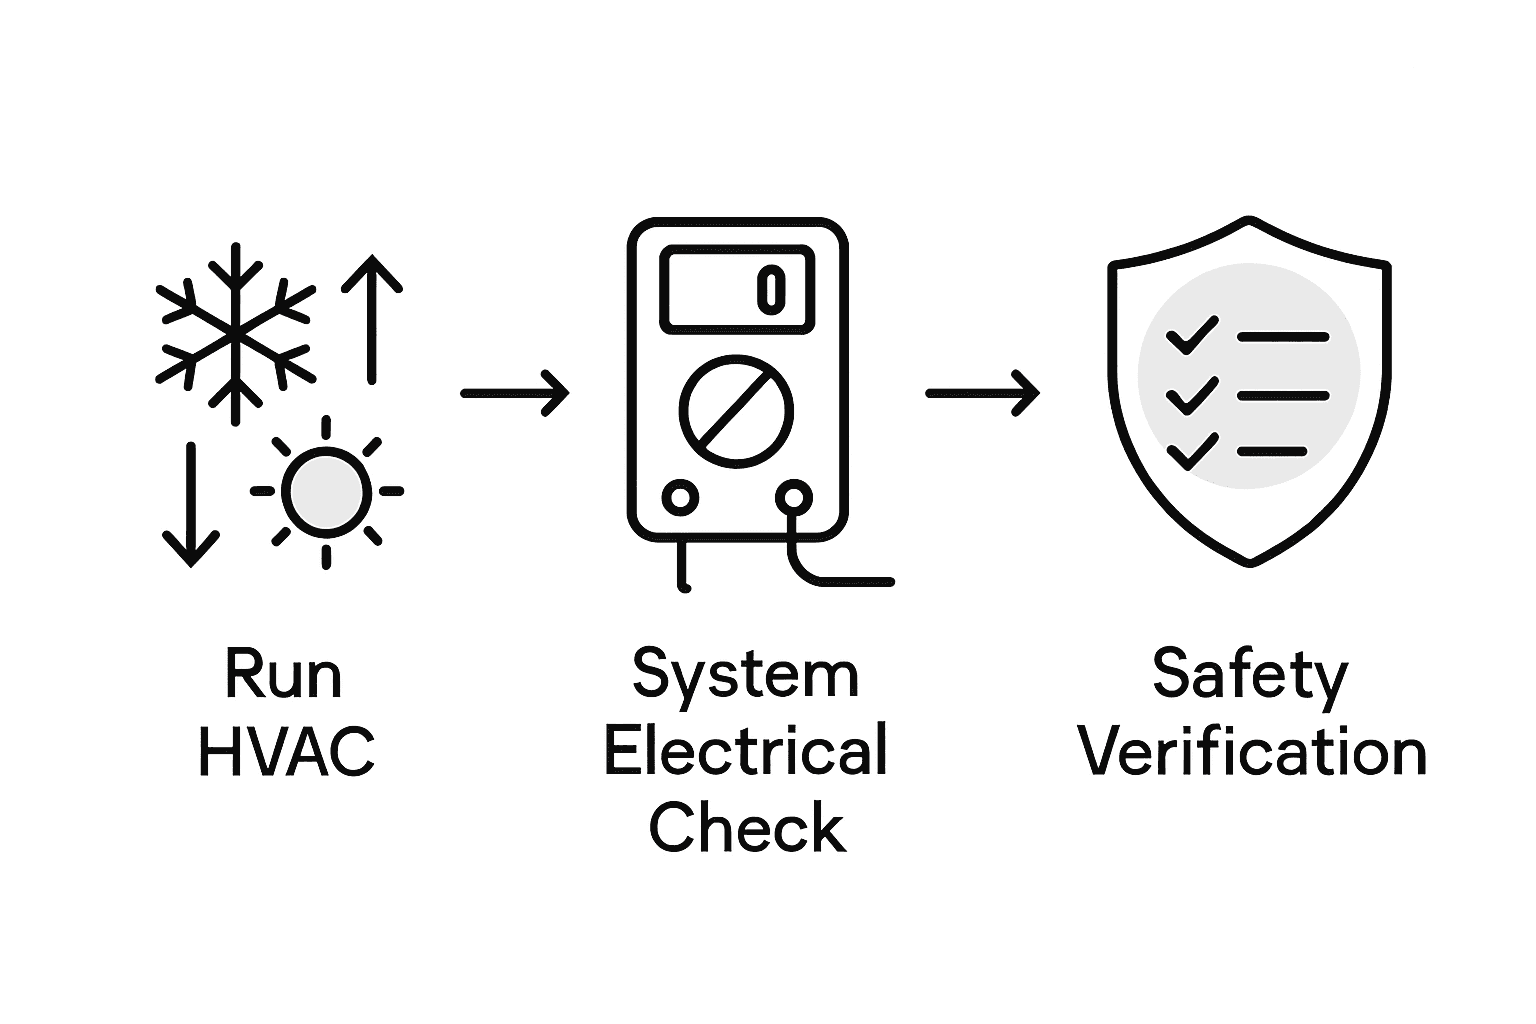
Insights from home system inspection guidelines recommend a systematic approach to performance evaluation. Begin by running the system through complete operational cycles in both cooling and heating modes. Monitor temperature differentials carefully recording inlet and outlet air temperatures to confirm proper thermal performance. Check refrigerant pressures using calibrated gauges, ensuring they align precisely with manufacturer specifications. Verify electrical connections remain secure and test voltage levels across all system components. Conduct comprehensive airflow measurements using specialized anemometers to confirm proper circulation throughout your ventilation system.
Safety verification requires meticulous attention to multiple system parameters. Inspect all electrical connections for potential heat signatures using infrared thermal imaging. Test emergency shutdown mechanisms and confirm proper response of safety switches. Evaluate vibration levels to ensure mounting stability and check for any unusual noise during system operation. Verify that all system controls function correctly including thermostat responsiveness and zone control mechanisms. Pay special attention to drainage systems ensuring condensate lines remain clear and properly routed to prevent potential water damage.
Use this summary for essential diagnostic steps during HVAC performance testing:
| Test Step | Purpose | Tools Used |
|---|---|---|
| Run heating and cooling cycles | Confirm full system operation | Thermostat, stopwatch |
| Measure temperature differentials | Check thermal performance | Digital thermometer |
| Inspect for leaks | Verify refrigerant integrity | Leak detector, gauges |
| Test electrical connections | Ensure power and safety | Multimeter, IR camera |
| Evaluate airflow | Confirm proper circulation | Anemometer |
Pro Tip: Document all test results and performance metrics in a detailed log. This record can prove invaluable for future maintenance and can help identify potential performance trends over time.
Upgrade Your Los Angeles HVAC Installation With Trusted Local Experts
Choosing the right HVAC system and ensuring a secure, code-compliant installation can feel overwhelming. This guide highlights key challenges like assessing your property’s unique thermal load, preparing your home for installation, and verifying system safety to avoid costly future repairs. You deserve a smooth experience with experts who understand Los Angeles climate and building codes.

Take the stress out of HVAC upgrades by connecting with skilled, licensed contractors through airconditioning-heating.com. Whether you need precision installation, reliable repairs, or tailored maintenance plans, our network of local specialists offers proven expertise to keep your system efficient and safe under LA’s intense sun. Act now to secure your comfort before the next heat wave arrives. Visit our site today and get matched with professionals who make complex HVAC projects worry-free.
Frequently Asked Questions
What factors should I consider when assessing my property for HVAC installation?
When assessing your property, consider factors like total square footage, insulation quality, sun exposure, and existing ductwork configuration. Measure your home’s dimensions and check for features that could impact heating and cooling needs, such as ceiling height and window placement.
How do I prepare my installation area for an HVAC system?
Prepare your installation area by ensuring it is clean and accessible. Remove any furniture or obstacles, and make sure you have adequate clearance around the installation zone, particularly for indoor units where at least three feet of space should be available.
What are the common types of HVAC systems suitable for Los Angeles homes?
Common HVAC systems suitable for Los Angeles homes include central air conditioners, ductless mini splits, and heat pumps. Evaluate each option based on your home’s size and specific heating and cooling needs to determine the best fit.
How do I ensure my HVAC installation complies with local codes?
To ensure compliance with local codes, carefully review Los Angeles County’s specific HVAC installation regulations before starting. Make sure your installation plan aligns with necessary permits and inspections, covering all safety and efficiency standards.
What testing should I perform after installing my HVAC system?
After installation, conduct performance testing by running the system in both heating and cooling modes to ensure it operates correctly. Measure temperature differentials and inspect refrigerant pressures to confirm everything is functioning as intended.
How can I maintain my HVAC system for peak performance?
To maintain your HVAC system for peak performance, regularly check and change filters, and schedule annual professional inspections. Aim for preventative maintenance at least once a year to help reduce energy consumption by up to 20%.
