
Nearly 90 percent of HVAC system failures can be traced back to neglected maintenance or skipped safety checks. Without the right tools and careful preparation, even simple tasks can put your comfort and budget at risk. Understanding each step of routine HVAC maintenance helps you protect your equipment, improve efficiency, and keep your indoor air clean and safe. This guide gives you a clear, hands-on plan for confident, effective HVAC care from start to finish.
Table of Contents
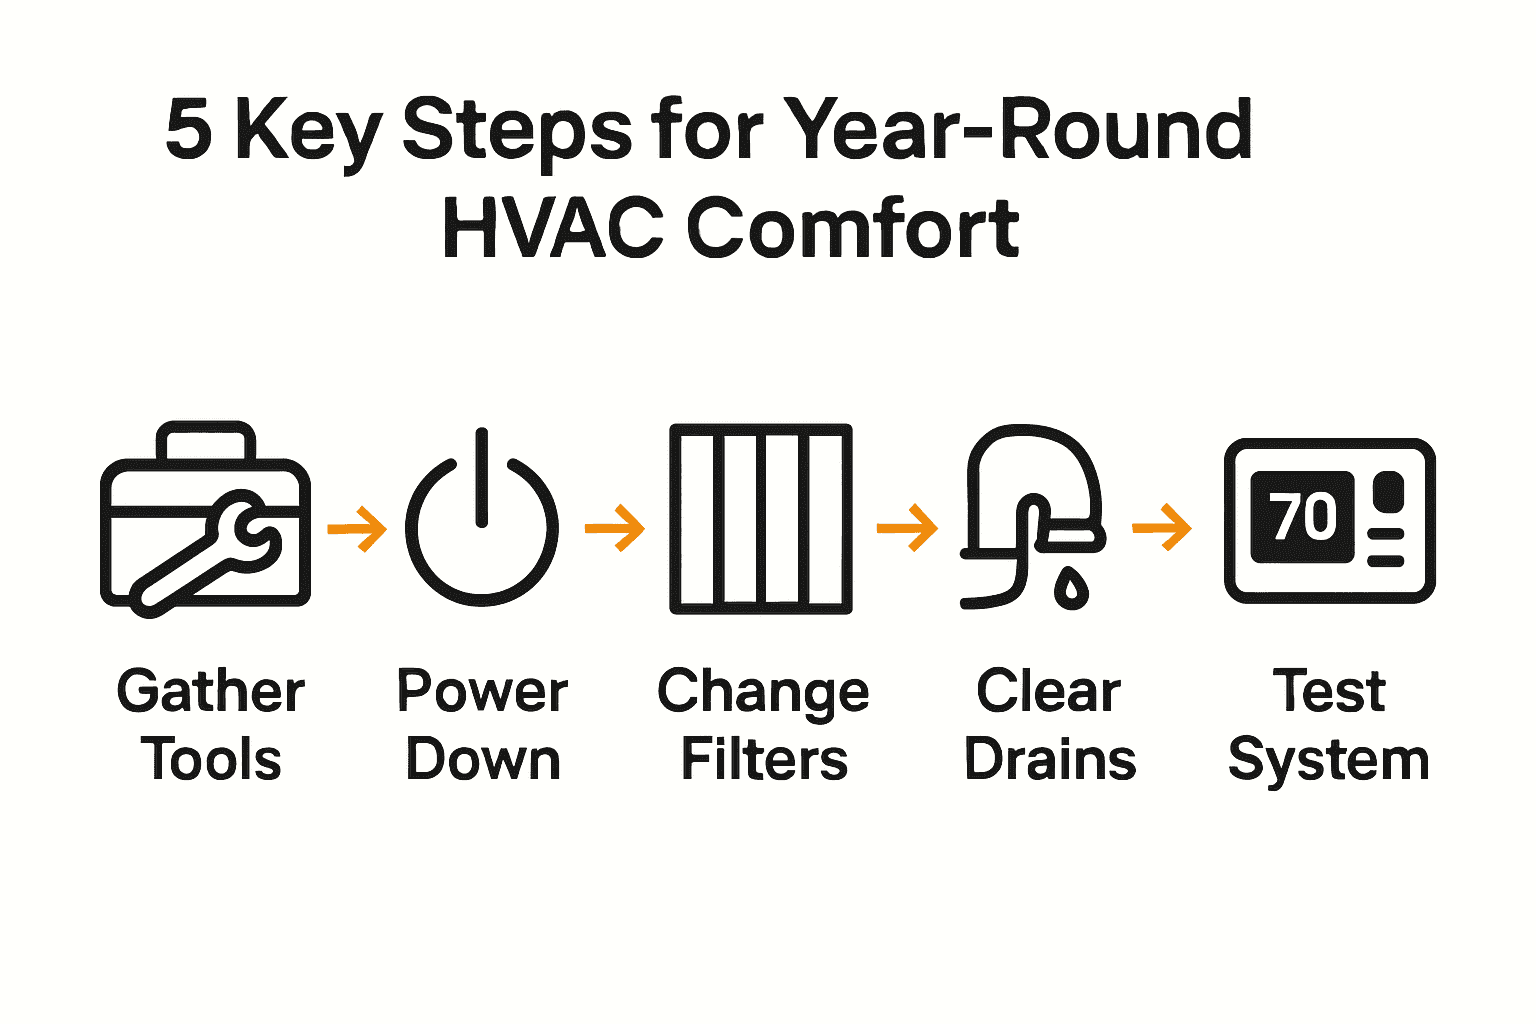
- Step 1: Gather All Essential Tools And Safety Gear
- Step 2: Shut Down And Inspect HVAC Power Connections
- Step 3: Clean Or Replace HVAC Air Filters And Vents
- Step 4: Check And Clear Condensate Drains And Lines
- Step 5: Examine System Components For Wear Or Damage
- Step 6: Test The System For Proper Operation
Quick Summary
| Key Point | Explanation |
|---|---|
| 1. Assemble essential tools and gear | Use insulated screwdrivers, pliers, wrenches, safety glasses, and gloves for effective HVAC maintenance and safety. |
| 2. Disconnect power before maintenance | Turn off the HVAC circuit breaker and test with a voltage tester to ensure safety during maintenance tasks. |
| 3. Regularly change air filters | Inspect and replace air filters monthly to improve air quality and system efficiency while reducing energy costs. |
| 4. Clear condensate drains to prevent damage | Keep condensate lines clear of debris to avoid moisture problems and ensure optimal HVAC operation. |
| 5. Test HVAC system operation thoroughly | After maintenance, check system functionality in heating and cooling modes for consistent performance and efficiency. |
Step 1: Gather all essential tools and safety gear
Preparing for HVAC maintenance starts with having the right tools and protective equipment. You will need a comprehensive toolkit that ensures both effective work and personal safety. According to Universal Technical Institute, specific tools are crucial for successful HVAC system maintenance.
Your essential toolkit should include several key items. Start with insulated screwdrivers in multiple sizes, adjustable pliers, a reliable pipe wrench, and a sturdy tape measure. CBT Technology Institute emphasizes the importance of personal protective gear. This means high quality work gloves to protect your hands, impact resistant safety glasses to shield your eyes, and closed toe work boots with good traction.
Before beginning any maintenance work, do a quick inventory check of your tools and safety equipment. Ensure everything is in good condition with no visible damage. A pro tip most people overlook is keeping a small first aid kit nearby just in case. By taking these preparatory steps, you set yourself up for a safe and successful HVAC maintenance session.
Step 2: Shut down and inspect HVAC power connections
Before diving into your HVAC system maintenance, you must safely disconnect power to prevent electrical accidents. This crucial step protects both you and your equipment from potential damage or injury. ENERGY STAR recommends carefully managing electrical connections during system inspections.
Start by locating your system’s main electrical panel and switch off the circuit breaker dedicated to your HVAC unit. Use a non contact voltage tester to confirm the power is completely off before touching any electrical components. According to the Department of Energy, you should visually inspect all mechanical connections for signs of wear, heat discoloration, or loose connections that might compromise system performance.
While checking connections, look for any signs of fraying, corrosion, or unusual discoloration around wires and terminal points. A thermal scan can help identify potential problem areas before they become serious issues. Remember that even a small electrical irregularity can lead to significant system failures. Once you’ve completed your inspection, you’ll be ready to move on to the next phase of your HVAC maintenance routine.
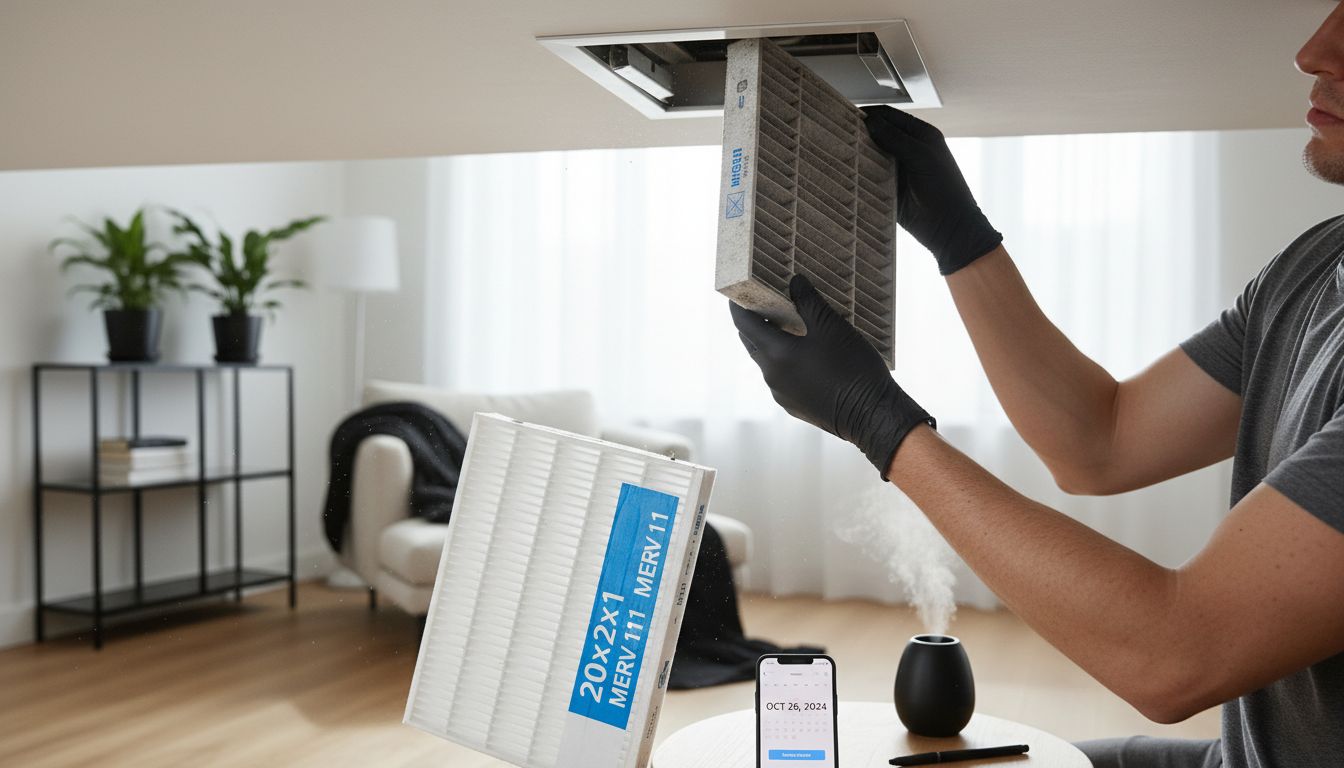
Step 3: Clean or replace HVAC air filters and vents
Maintaining clean air filters is crucial for your HVAC system’s efficiency and your home’s air quality. ENERGY STAR recommends inspecting and changing air filters monthly to prevent increased energy costs and potential equipment damage.
To begin, locate your system’s air filter. Turn off the HVAC system before removal to prevent dust from circulating. Carefully slide out the existing filter and check its condition. If it appears gray, dusty, or visibly clogged, it is time for a replacement. According to the Department of Energy, dirty filters can significantly reduce your system’s cooling capacity and increase operational expenses.
When selecting a new filter, match the size exactly with your current model. Look for the dimensions printed on the filter’s frame. Pro tip: Consider using high efficiency filters that capture more dust and allergens. After installation, mark your calendar for the next replacement to maintain consistent system performance.
 If you need professional guidance, our HVAC air filter replacement service can help ensure proper filter selection and installation.
Step 4: Check and clear condensate drains and lines
Your HVAC system’s condensate drain is a critical component that prevents water buildup and potential moisture damage. ENERGY STAR emphasizes the importance of regularly inspecting condensate drains to maintain proper system performance and prevent indoor humidity issues.
Locate the condensate drain line typically near your indoor air handler or furnace. Use a wet or dry vacuum to remove any visible debris or blockages. Carefully disconnect the drain line and suction out accumulated sediment and potential biological growth. According to the Department of Energy, keeping these lines clear is essential for preventing water damage and maintaining optimal system efficiency.
After cleaning, perform a simple water flow test by pouring a small amount of water into the drain pan. The water should flow smoothly without backing up or pooling. If you notice persistent drainage issues, consider using a biodegradable drain line treatment to prevent future clogs. Our air duct cleaning service can provide professional assistance if you encounter complex drainage problems.
Step 5: Examine system components for wear or damage
Carefully inspecting your HVAC system’s internal components is crucial for preventing unexpected breakdowns and maintaining optimal performance. ENERGY STAR highlights the critical importance of checking gas connections, burner combustion, and heat exchangers to prevent potential fire hazards and health risks.
Begin your systematic inspection by carefully examining electrical connections, wiring harnesses, and major mechanical components. Look for signs of wear such as fraying wires, rust, corrosion, or unusual discoloration. According to the Department of Energy, a thorough visual inspection of internal sub-assemblies and mechanical connections can reveal potential issues before they become serious problems. Pay special attention to contactors, cables, and areas showing heat discoloration.
A pro tip is to use a flashlight and wear protective gloves during your inspection to help you spot subtle signs of wear. If you discover anything concerning or feel uncomfortable performing a detailed examination, our HVAC tune up service can provide a professional comprehensive system assessment. Remember that early detection of potential issues can save you from costly repairs down the line.
Step 6: Test the system for proper operation
ENERGY STAR recommends carefully checking your HVAC system controls to ensure safe and proper operation. The final stage of maintenance involves a comprehensive operational test to verify your system functions correctly and efficiently.
Start by turning on your system and observing its starting cycle. According to the Department of Energy, you should verify that the unit transfers smoothly and displays accurate status indicators. Listen for unusual sounds, check that airflow feels consistent, and monitor temperature output. Pay attention to how quickly the system reaches the desired temperature and whether it maintains that temperature without frequent cycling.
A pro tip is to test both heating and cooling modes if your system supports both. Note any inconsistencies like weak airflow, strange noises, or temperature irregularities. If you encounter any performance issues during testing, our HVAC tune up service can provide a professional diagnostic and resolution. Remember that a well functioning HVAC system should operate quietly, efficiently, and maintain comfortable indoor temperatures with minimal effort.
Ensure Your HVAC System Delivers Reliable Comfort Year-Round
Maintaining your HVAC system can feel overwhelming with all the steps to cover—from safety gear to filter changes to thorough inspections. The article highlights critical concerns like avoiding electrical hazards, preventing clogged condensate drains, and spotting worn components before they cause costly breakdowns. You want peace of mind knowing your system operates safely and efficiently through every season without unexpected failures or soaring energy bills.
Don’t wait until discomfort or costly repairs catch you off guard. Our platform connects you to trusted local professionals skilled in comprehensive HVAC maintenance and tune-ups that align perfectly with the checklist you just reviewed. Explore expert HVAC maintenance solutions designed specifically for Los Angeles homeowners and businesses.

Take control of your indoor comfort today by scheduling a professional inspection or service with vetted contractors through our referral service. With timely care, you ensure your system stays reliable, safe, and efficient no matter the temperature outside. Visit airconditioning-heating.com now to find experts who can keep your HVAC running smoothly all year long.
Frequently Asked Questions
What tools do I need for HVAC maintenance?
To perform effective HVAC maintenance, gather a set of essential tools including insulated screwdrivers, adjustable pliers, a pipe wrench, and a tape measure. Make sure to wear personal protective gear, like gloves and safety glasses, to ensure your safety during the process.
How often should I check and replace my HVAC air filters?
Inspect and replace your HVAC air filters every month to maintain optimal efficiency and air quality. A clean filter can help reduce energy costs and improve your system’s performance by preventing clogs.
What should I do to ensure my HVAC system is powered down safely?
Before starting maintenance, ensure your HVAC system is powered down by switching off the dedicated circuit breaker. Then, confirm power is off using a non-contact voltage tester to avoid electrical accidents.
How do I clear the condensate drain line in my HVAC system?
To clear the condensate drain line, first locate it near your indoor air handler or furnace. Use a wet or dry vacuum to remove any blockages, and perform a water flow test afterward to ensure the line is functioning properly.
What signs of wear should I look for during an HVAC inspection?
During your inspection, check for signs of wear such as fraying wires, rust, or corrosion on components. Addressing these issues early can prevent larger problems and breakdowns.
How can I test my HVAC system for proper operation after maintenance?
After performing maintenance, turn on your HVAC system and observe its startup cycle, airflow, and temperature output. Listen for unusual sounds and ensure it reaches the desired temperature efficiently.
